My Garage
My Account
Cart
Genuine Pontiac Grand Prix Control Arm
Suspension Arm- Select Vehicle by Model
- Select Vehicle by VIN
Select Vehicle by Model
orMake
Model
Year
Select Vehicle by VIN
For the most accurate results, select vehicle by your VIN (Vehicle Identification Number).
16 Control Arms found
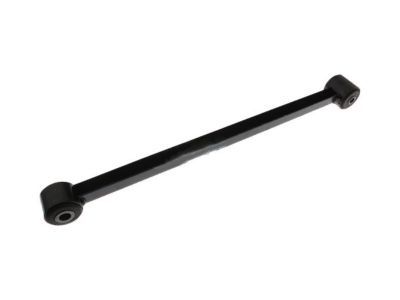
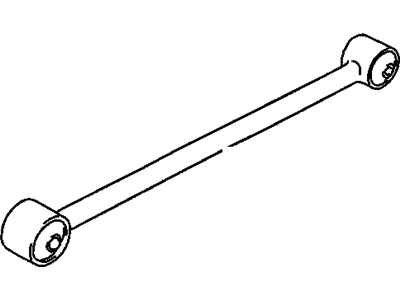
Pontiac Grand Prix Rear Suspension Trailing Arm Assembly
Part Number: 15820927$54.82 MSRP: $95.42You Save: $40.60 (43%)Ships in 1-2 Business Days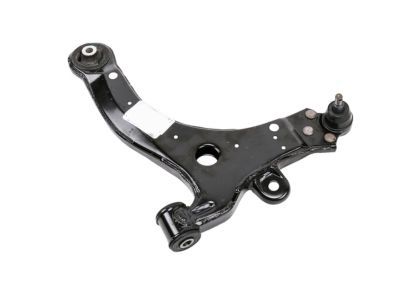
Pontiac Grand Prix Front Lower Control Arm Assembly
Part Number: 22947663$168.46 MSRP: $293.20You Save: $124.74 (43%)Ships in 1-2 Business Days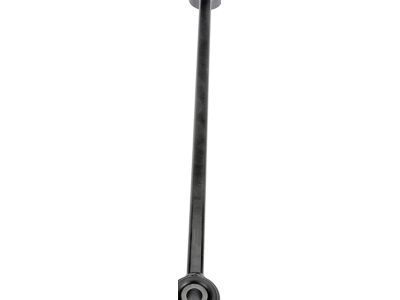
Pontiac Grand Prix Rear Suspension Trailing Arm Assembly
Part Number: 25990164$33.37 MSRP: $55.23You Save: $21.86 (40%)Ships in 1-2 Business Days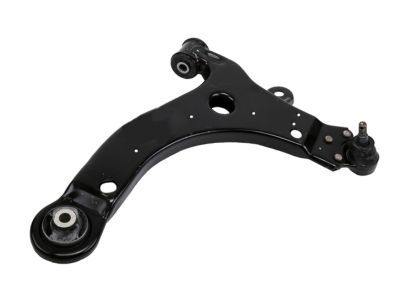
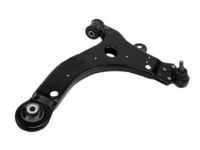
Pontiac Grand Prix Front Lower Control Arm Assembly
Part Number: 22947664$168.86 MSRP: $293.90You Save: $125.04 (43%)Ships in 1-2 Business Days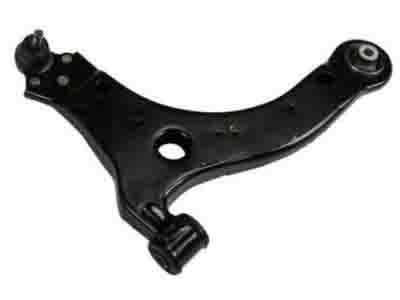
Pontiac Grand Prix Front Lower Control Arm Assembly
Part Number: 25853339$141.25 MSRP: $201.23You Save: $59.98 (30%)Ships in 1-2 Business Days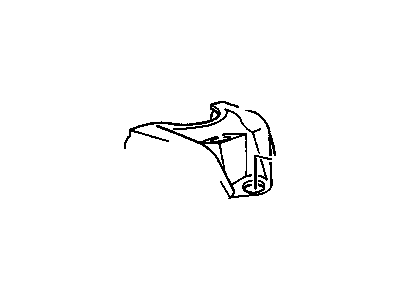
Pontiac Grand Prix ARM KIT,FRT UPR CONT<SEE GUIDE/CONTACT BFO>
Part Number: 19416899$211.12 MSRP: $367.45You Save: $156.33 (43%)Ships in 1-2 Business Days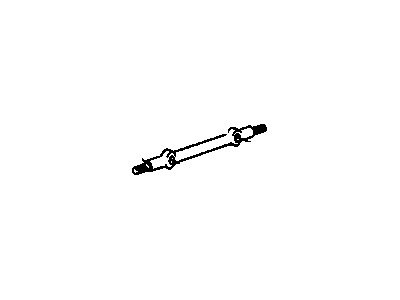
Pontiac Grand Prix Shaft Kit,Front Upper Control Arm
Part Number: 12385857$51.40 MSRP: $103.65You Save: $52.25 (51%)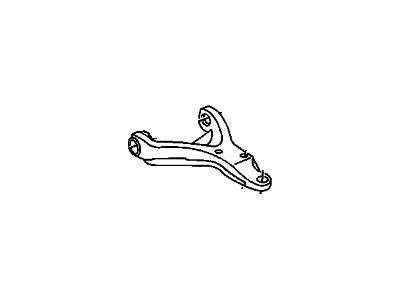
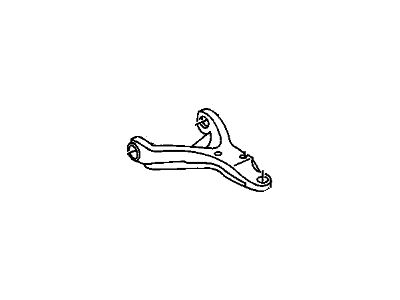
Pontiac Grand Prix Front Lower Control Arm Assembly L.H.
Part Number: 10114743$36.85 MSRP: $57.98You Save: $21.13 (37%)Ships in 1-3 Business Days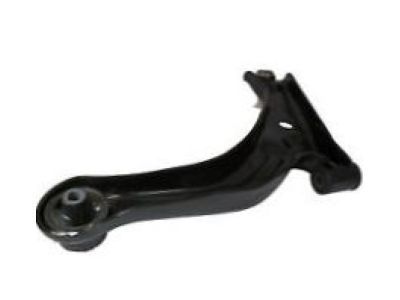

Pontiac Grand Prix Control Arm
In the case of Pontiac Grand Prix vehicles, the Control Arm is essential since it enables the movement of the suspension system between the frame of the vehicle and its wheels. This component enables the wheels to rotate or move as an axis to adapt to the road conditions, which is very crucial when it comes to alignment of the wheels and also the general handling of the vehicle. Pontiac Grand Prix models have used a wide range of Control Arms- from the conventional stamped steel to the cast iron and aluminum type to become lighter and stronger. In the years of development Pontiac grand prix control arms made through out changes to perform and endure the application they are given. Normal control arms are used in standard cars, but there are high-performance control arms for those willing to have a better handling and stability especially for high performance driving. The selection of these performance Control Arms usually comes with beefed up construction and stiffer bushings so that they can handle more power and respond well while steering.
Each OEM Pontiac Grand Prix Control Arm we offer is competitively priced and comes with the assurance of the manufacturer's warranty for the part. Furthermore, we guarantee the speedy delivery of your orders right to your doorstep. Our hassle-free return policy is also in place for your peace of mind.
Pontiac Grand Prix Control Arm Parts Questions & Experts Answers
- Q: How do you remove and replace a control arm on Pontiac Grand Prix?A: Loosen the wheel lug nuts, raise the front of the vehicle, and support it securely on jackstands. Apply the parking brake and block the rear wheels to prevent rolling off the jackstands, then remove the wheel. If only one control arm is being removed, disconnect that end of the stabilizer bar; if both are being removed, disconnect both ends. Remove the balljoint stud's castellated nut and cotter pin, then separate the balljoint from the control arm using a separation tool or a large pry bar, taking care not to overextend the inner CV joint. Remove the two control arm pivot bolts and detach the control arm. Inspect the control arm bushings for hardening, excessive wear, and cracks; if they are worn or deteriorated, take the control arm to a dealer service department or repair shop for replacement. Position the control arm in the suspension support and install the pivot bolts without fully tightening them. Insert the balljoint stud into the control arm, install the castellated nut, and tighten it to the specified torque, adjusting if necessary to align the cotter pin hole, then install a new cotter pin. Use a floor jack under the balljoint to raise it to simulate normal ride height and tighten the control arm pivot bolts to the specified torque. Install the stabilizer bar-to-control arm bolt, spacer, bushings, and washers, tightening the nut to the specified torque. Finally, install the wheel, lower the vehicle, and tighten the lug nuts to the specified torque, then drive to a dealer service department or alignment shop for a front wheel alignment check and adjustment if needed.
Related Pontiac Grand Prix Parts
 Pontiac Grand Prix Shift Cable
 Pontiac Grand Prix Ball Joint
 Pontiac Grand Prix Control Arm Bushing
 Pontiac Grand Prix Trailing Arm Bushing
 Pontiac Grand Prix Trailing Arm
 Pontiac Grand Prix Control Arm Bracket
Browse by Year
2008 Control Arm 2007 Control Arm 2006 Control Arm 2005 Control Arm 2004 Control Arm 2003 Control Arm 2002 Control Arm 2001 Control Arm 2000 Control Arm 1999 Control Arm 1998 Control Arm 1997 Control Arm 1996 Control Arm 1995 Control Arm 1994 Control Arm 1993 Control Arm 1992 Control Arm 1991 Control Arm 1990 Control Arm 1989 Control Arm 1988 Control Arm 1987 Control Arm 1986 Control Arm 1985 Control Arm 1984 Control Arm 1983 Control Arm 1982 Control Arm