My Garage
My Account
Cart
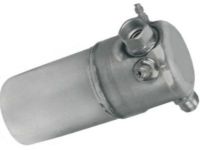
Genuine Buick Century A/C Accumulator
Accumulator- Select Vehicle by Model
- Select Vehicle by VIN
Select Vehicle by Model
orMake
Model
Year
Select Vehicle by VIN
For the most accurate results, select vehicle by your VIN (Vehicle Identification Number).
12 A/C Accumulators found
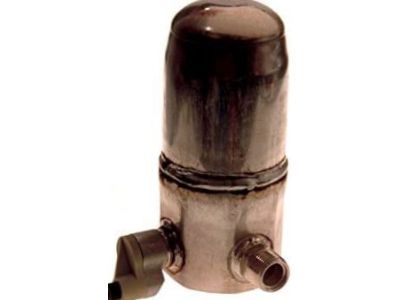
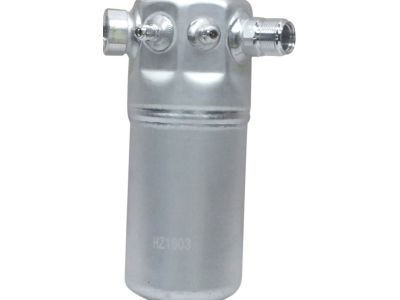
Buick Century Accumulator Asm,A/C
Part Number: 1132766$24.46 MSRP: $46.16You Save: $21.70 (48%)Ships in 1-2 Business Days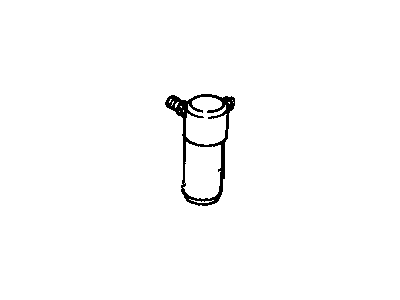
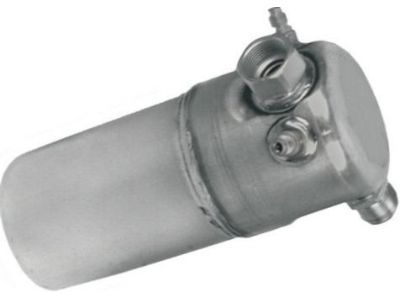
Buick Century Accumulator,A/C
Part Number: 2724929$14.31 MSRP: $50.00You Save: $35.69 (72%)Ships in 1-2 Business Days
Buick Century A/C Accumulator
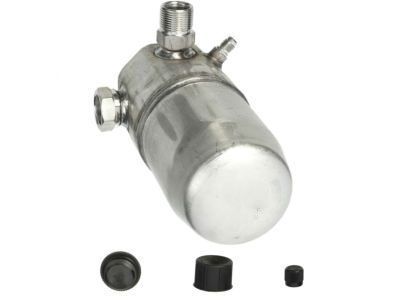
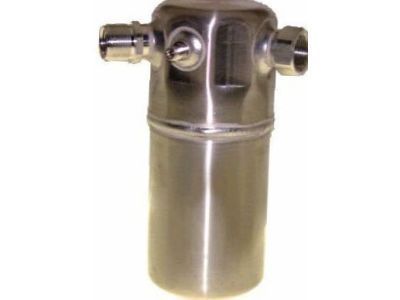
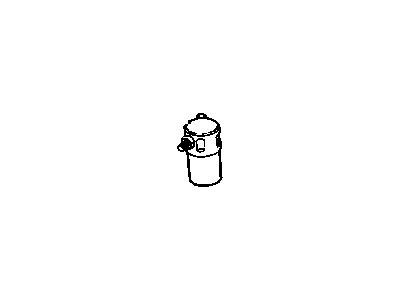
In Buick Century cars, the A/C Accumulator plays an essential function in the working of the air conditioning system of the car. This is a cylindrical component placed between the evaporator and the compressor where it works efficiently in eliminating moisture, oil and dirt in the refrigeration system. In this way, the A/C Accumulator protects the compressor against possible damage, as well as stabilizes the performance of the air conditioning system. Although, there is no details on which type and style of A/C Accumulators are used in Buick Century, the basic use of A/C Accumulators for Buick Century will not differ among these. The core competency of the accumulator is to eliminate dirt whereby the cleanliness of the vehicle will keep the durability and efficiency of the cooling system which is a significant aspect of the A/C system.
Each OEM Buick Century A/C Accumulator we offer is competitively priced and comes with the assurance of the manufacturer's warranty for the part. Furthermore, we guarantee the speedy delivery of your orders right to your doorstep. Our hassle-free return policy is also in place for your peace of mind.
Buick Century A/C Accumulator Parts Questions & Experts Answers
- Q: How to remove and install an Accumulator Assembly on Buick Century?A: The sealed accumulator assembly is connected to the evaporator outlet pipe and functions as a liquid/vapor separator that receives refrigerant vapor, some liquid refrigerant and refrigerant oil from the evaporator. It contains a desiccant which acts as a drying agent for the moisture that may have entered the system. To remove the accumulator, disconnect the negative battery cable, properly discharge the air conditioning system into a recovery/recycling machine, remove the air cleaner and resonator assemblies, disconnect the low-pressure lines at the inlet and outlet fittings on the accumulator, unplug the pressure cycling switch connection and remove the switch, loosen the lower strap bolt and spread the strap, turn the accumulator and remove. Drain and measure the oil in the accumulator, discard the old oil, add new oil equivalent to the amount drained from the old accumulator plus an additional 2-3 oz. (60-90ml) of oil to compensate for the oil retained by the accumulator desiccant, position the accumulator in the securing bracket, tighten the clamp bolt to 88 inch lbs. (10 Nm), install new O-rings at the inlet and outlet connections on the accumulator, lubricate the O-rings with refrigerant oil, connect the low-pressure inlet and outlet lines, tighten to 35 ft. lbs. (48 Nm), connect the negative battery cable, tighten the cable bolt to 11 ft. lbs. (15 Nm), evacuate, charge and leak test the system, reinstall the air cleaner assembly if removed, reset the radio, clock and any other applicable electronic devices.
Related Buick Century Parts
 Buick Century A/C Switch
 Buick Century Blower Motor Resistor
 Buick Century A/C Compressor
 Buick Century Blower Motor
 Buick Century A/C Idler Pulley
 Buick Century Blend Door Actuator
 Buick Century A/C Condenser Fan
 Buick Century A/C Hose
 Buick Century A/C Clutch
 Buick Century Evaporator
Browse by Year
2005 A/C Accumulator 2004 A/C Accumulator 2003 A/C Accumulator 2002 A/C Accumulator 2001 A/C Accumulator 2000 A/C Accumulator 1999 A/C Accumulator 1998 A/C Accumulator 1997 A/C Accumulator 1996 A/C Accumulator 1995 A/C Accumulator 1994 A/C Accumulator 1993 A/C Accumulator 1992 A/C Accumulator 1991 A/C Accumulator 1990 A/C Accumulator 1989 A/C Accumulator 1988 A/C Accumulator 1987 A/C Accumulator 1986 A/C Accumulator 1985 A/C Accumulator 1984 A/C Accumulator 1983 A/C Accumulator 1982 A/C Accumulator