My Garage
My Account
Cart
Genuine Chevrolet Tracker Car Speakers
Audio Speakers- Select Vehicle by Model
- Select Vehicle by VIN
Select Vehicle by Model
orMake
Model
Year
Select Vehicle by VIN
For the most accurate results, select vehicle by your VIN (Vehicle Identification Number).
2 Car Speakers found

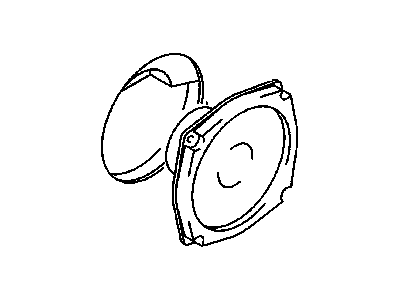
Chevrolet Tracker Car Speakers
Each OEM Chevrolet Tracker Car Speakers we offer is competitively priced and comes with the assurance of the manufacturer's warranty for the part. Furthermore, we guarantee the speedy delivery of your orders right to your doorstep. Our hassle-free return policy is also in place for your peace of mind.
Chevrolet Tracker Car Speakers Parts Questions & Experts Answers
- Q: How do you disconnect and remove the radio and speakers on Chevrolet Tracker?A: Disconnect the cable from the negative terminal of the battery. For the radio in the Samurai, pull off the radio knobs and remove the retaining plate nuts with a deep socket. Remove the bottom retaining screws and allow the radio/console unit to drop slightly. Unscrew the nuts on the front brace and remove the radio from the back. Installation is the reverse of the removal process. For the 1998 and earlier Sidekick/Tracker radio, remove the rear retaining bracket screw, take out the four pins from the corners of the radio front, and disconnect the electrical connectors and antenna lead from the radio. Installation follows the reverse order. For the front speaker, remove the speaker grilles from the instrument panel by taking out the two screws, then remove the screws from the speaker and disconnect the electrical connector. Installation is the reverse of removal. For the rear speaker, remove the interior trim side panel, take out the speaker securing screws, and disconnect the electrical connector. Installation is the reverse of removal. For the 1999 and later Sidekick/X-90Nitara and Tracker radio, remove the three center trim bezel retaining screws, then take out the four retaining screws at each corner of the radio and pull it out for access to the electrical connector. Unplug the connector and remove the radio, with installation being the reverse of removal. For the speakers, locate the speaker; rear speakers are accessible after opening the liftgate and detaching the trim panel, while front speakers require removing the door trim panel. Remove the retaining screws, withdraw the speaker sufficiently to allow the connector to be unplugged, and remove the speaker from the vehicle, with installation being the reverse of removal.