My Garage
My Account
Cart
Genuine Chevrolet Silverado Steering Knuckle
Front Steering Knuckle- Select Vehicle by Model
- Select Vehicle by VIN
Select Vehicle by Model
orMake
Model
Year
Select Vehicle by VIN
For the most accurate results, select vehicle by your VIN (Vehicle Identification Number).
30 Steering Knuckles found
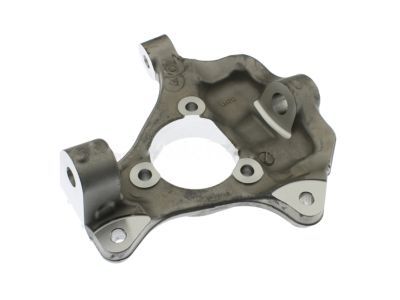
Chevrolet Silverado Steering Knuckle
Part Number: 22842315$90.28 MSRP: $157.14You Save: $66.86 (43%)Ships in 1-2 Business Days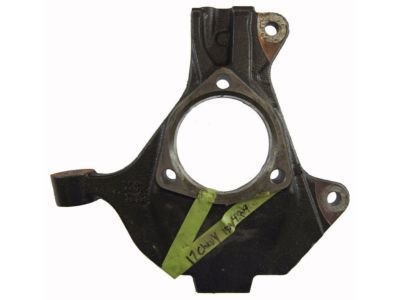
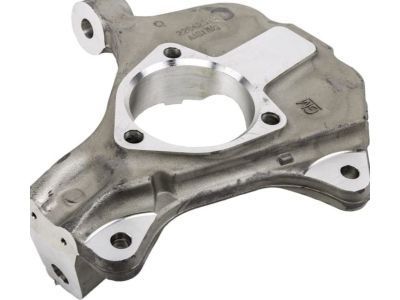
Chevrolet Silverado Steering Knuckle
Part Number: 23242659$243.35 MSRP: $423.55You Save: $180.20 (43%)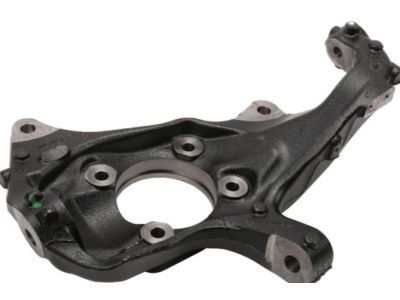
Chevrolet Silverado Steering Knuckle
Part Number: 84045103$154.19 MSRP: $253.46You Save: $99.27 (40%)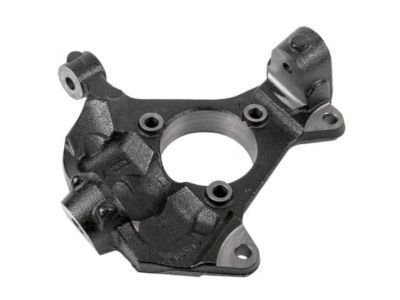
Chevrolet Silverado Steering Knuckle
Part Number: 23242660$243.35 MSRP: $423.55You Save: $180.20 (43%)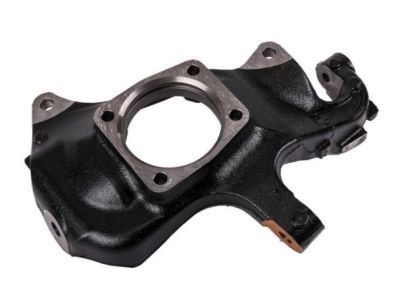
Chevrolet Silverado Steering Knuckle
Part Number: 84045104$145.63 MSRP: $253.46You Save: $107.83 (43%)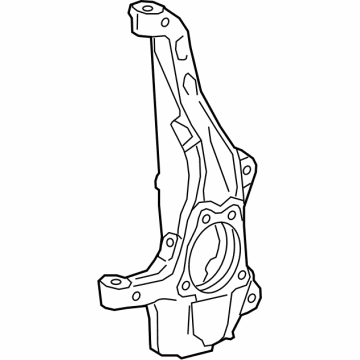
Chevrolet Silverado Steering Knuckle
Part Number: 84673207$86.27 MSRP: $150.15You Save: $63.88 (43%)Ships in 1-2 Business DaysChevrolet Silverado Steering Knuckle
Part Number: 84673210$86.27 MSRP: $150.15You Save: $63.88 (43%)Ships in 1-2 Business Days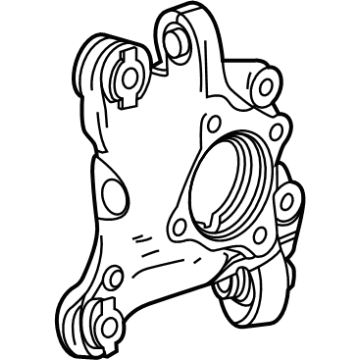
Chevrolet Silverado KNUCKLE ASM-RR SUSP
Part Number: 85562432$99.89 MSRP: $157.19You Save: $57.30 (37%)Ships in 1-2 Business Days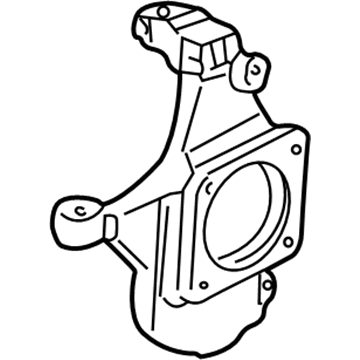
Chevrolet Silverado KNUCKLE-STRG
Part Number: 85544426$154.92 MSRP: $269.63You Save: $114.71 (43%)Ships in 1-2 Business DaysChevrolet Silverado KNUCKLE ASM-RR SUSP
Part Number: 85562433$95.78 MSRP: $150.71You Save: $54.93 (37%)Ships in 1-2 Business Days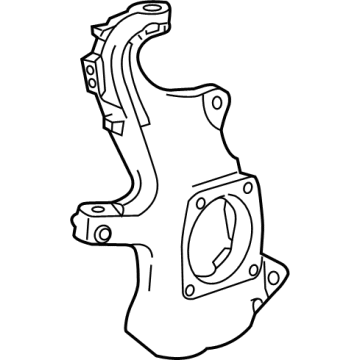

Chevrolet Silverado Knuckle, Strg
Part Number: 85124365$116.48 MSRP: $202.72You Save: $86.24 (43%)Ships in 1-3 Business DaysChevrolet Silverado KNUCKLE-STRG
Part Number: 85544427$158.33 MSRP: $275.60You Save: $117.27 (43%)Ships in 1-2 Business Days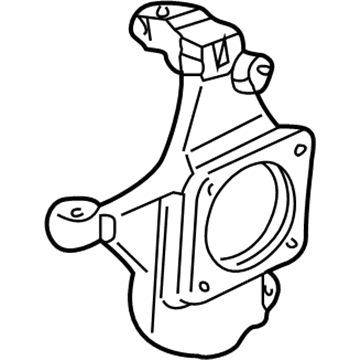
Chevrolet Silverado Steering Knuckle Assembly (Include. O, Ring)
Part Number: 18060532$289.23 MSRP: $342.32You Save: $53.09 (16%)Ships in 1-2 Business Days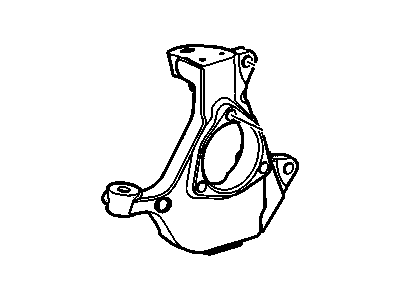
Chevrolet Silverado Knuckle Steering (LH)
Part Number: 26091750$86.05 MSRP: $665.47You Save: $579.42 (88%)Ships in 1-2 Business Days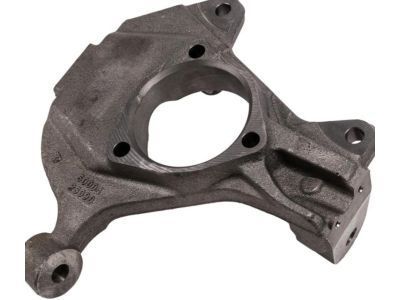

Chevrolet Silverado Steering Knuckle Assembly
Part Number: 25850471$332.66 MSRP: $525.78You Save: $193.12 (37%)
| Page 1 of 2 |Next >
1-20 of 30 Results
Chevrolet Silverado Steering Knuckle
Each OEM Chevrolet Silverado Steering Knuckle we offer is competitively priced and comes with the assurance of the manufacturer's warranty for the part. Furthermore, we guarantee the speedy delivery of your orders right to your doorstep. Our hassle-free return policy is also in place for your peace of mind.
Chevrolet Silverado Steering Knuckle Parts Questions & Experts Answers
- Q: How to remove the steering knuckle on Chevrolet Silverado?A: Firstly, loosen the wheel lug nuts and then lift up the car using the jack. Take off the wheel and remove the drive axle/hub nut if working on a 4WD model. Place a large pry bar across two of the wheel studs or insert a big screwdriver through the middle part of brake caliper into disc cooling vanes to avoid spinning of hub while undoing nut. Lift slightly by using a floor jack or similar device to support lower Control Arm in case models comes equipped with torsion bar suspension. Remove brake caliper and its disc, then hang them over on some wire without breaking brake hose as it may still be attached. Detach hub with bearing assembly together with disc splash shield from steering knuckle. Unscrew brake hose bracket from topmost part of steering knuckle, disconnect tie rod end from steering knuckle along with upper and lower arms for which this must be done too. For reinstallation, follow above procedure in reverse ensuring that torques to tighten hub & bearing assembly, Ball Joint, and tie rod fasteners are met. Set torque specifications when tightening caliper mounting bolts and drive axle/hub nut (for 4WD). Finally, tighten lug nuts according to torque specification for wheels.

Related Chevrolet Silverado Parts

Browse by Year
2024 Steering Knuckle 2023 Steering Knuckle 2022 Steering Knuckle 2021 Steering Knuckle 2020 Steering Knuckle 2019 Steering Knuckle 2018 Steering Knuckle 2017 Steering Knuckle 2016 Steering Knuckle 2015 Steering Knuckle 2014 Steering Knuckle 2013 Steering Knuckle 2012 Steering Knuckle 2011 Steering Knuckle 2010 Steering Knuckle 2009 Steering Knuckle 2008 Steering Knuckle 2007 Steering Knuckle 2006 Steering Knuckle 2005 Steering Knuckle 2004 Steering Knuckle 2003 Steering Knuckle 2002 Steering Knuckle 2001 Steering Knuckle 2000 Steering Knuckle 1999 Steering Knuckle