My Garage
My Account
Cart
Genuine Chevrolet Malibu Side View Mirrors
Outside Rear View Mirror- Select Vehicle by Model
- Select Vehicle by VIN
Select Vehicle by Model
orMake
Model
Year
Select Vehicle by VIN
For the most accurate results, select vehicle by your VIN (Vehicle Identification Number).
86 Side View Mirrors found
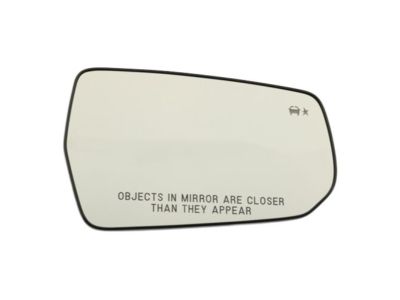
Chevrolet Malibu Mirror, Outside Rear View (Reflector Glass & Backing Plate)
Part Number: 23372274$76.17 MSRP: $109.46You Save: $33.29 (31%)Ships in 1-3 Business Days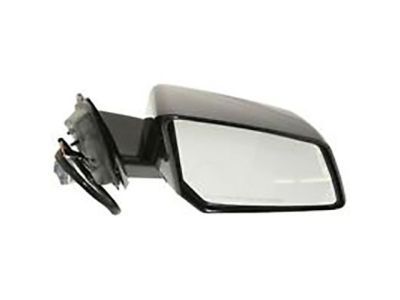
Chevrolet Malibu Mirror, Outside Rear View (Reflector Glass & Backing Plate)
Part Number: 23372270$72.94 MSRP: $109.06You Save: $36.12 (34%)Ships in 1-3 Business Days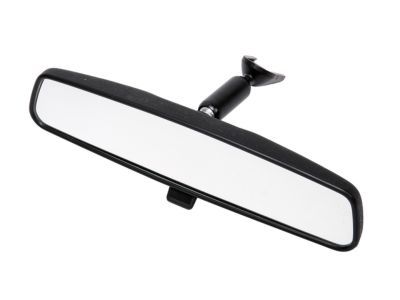
Chevrolet Malibu Mirror Assembly, Inside Rear View
Part Number: 25603373$53.26 MSRP: $79.63You Save: $26.37 (34%)Ships in 1-3 Business Days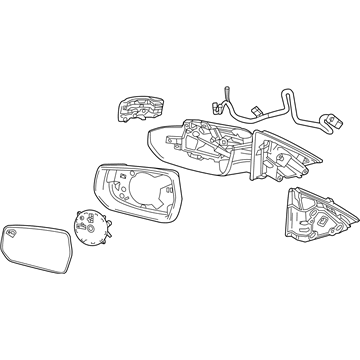
Chevrolet Malibu Mirror Assembly, O/S Rr View (W/O Cvr)
Part Number: 84725736$183.71 MSRP: $261.75You Save: $78.04 (30%)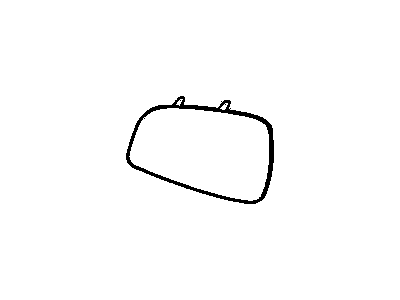
Chevrolet Malibu Mirror, Outside Rear View (Reflector Glass & Backing Plate)
Part Number: 15902388$37.28 MSRP: $53.58You Save: $16.30 (31%)Ships in 1-3 Business Days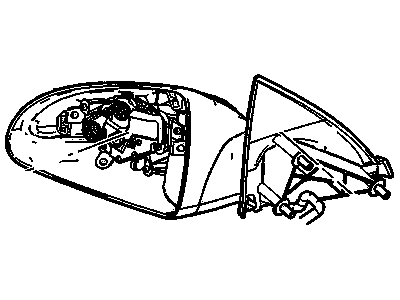
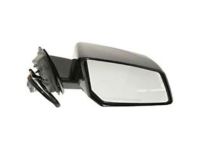
Chevrolet Malibu Mirror Assembly, Outside Rear View Rh *Black
Part Number: 15921263$115.27 MSRP: $173.12You Save: $57.85 (34%)Ships in 1-3 Business DaysChevrolet Malibu Mirror Assembly, O/S Rr View (W/O Cvr)
Part Number: 84725738$188.50 MSRP: $268.57You Save: $80.07 (30%)Ships in 1-3 Business Days
Chevrolet Malibu Mirror Assembly, Outside Rear View Rh
Part Number: 22683206$73.05 MSRP: $104.97You Save: $31.92 (31%)Ships in 1-2 Business Days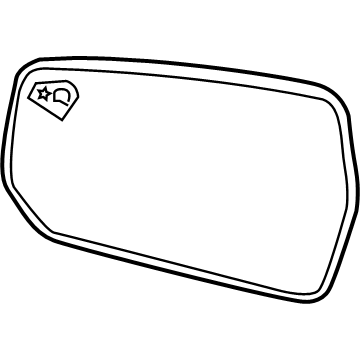
Chevrolet Malibu Mirror, Outside Rear View (Reflector Glass & Backing Plate)
Part Number: 23372271$55.69 MSRP: $80.03You Save: $24.34 (31%)Ships in 1-3 Business DaysChevrolet Malibu Mirror Assembly, Outside Rear View Lh *Black
Part Number: 15921264$83.62 MSRP: $120.17You Save: $36.55 (31%)Ships in 1-2 Business Days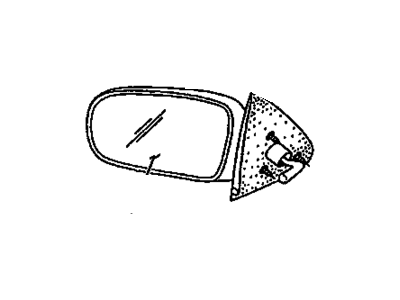
Chevrolet Malibu Mirror,Outside Rear View, Right (Glass)
Part Number: 12365216$36.74 MSRP: $52.79You Save: $16.05 (31%)Ships in 1-2 Business Days
Chevrolet Malibu Mirror,Outside Rear View (Reflector Glass Only)
Part Number: 22698305$63.17 MSRP: $90.78You Save: $27.61 (31%)Ships in 1-2 Business Days
Chevrolet Malibu Mirror Assembly, Outside Rear View *Black
Part Number: 22965891$155.37 MSRP: $223.28You Save: $67.91 (31%)Ships in 1-2 Business Days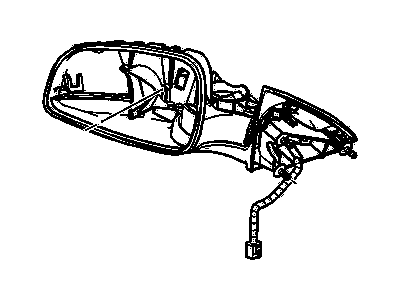
Chevrolet Malibu Mirror Assembly, Outside Rear View *Black
Part Number: 20893858$110.07 MSRP: $164.57You Save: $54.50 (34%)Ships in 1-3 Business DaysChevrolet Malibu Mirror Assembly, O/S Rr View (W/O Cvr)
Part Number: 84785586$177.88 MSRP: $267.14You Save: $89.26 (34%)Ships in 1-3 Business Days
Chevrolet Malibu Mirror Assembly, Outside Rear View Lh (Paint To Match)
Part Number: 22683153$51.04 MSRP: $73.35You Save: $22.31 (31%)Chevrolet Malibu Mirror,Outside Rear View, Left (Glass)
Part Number: 12365217$31.59 MSRP: $60.52You Save: $28.93 (48%)Ships in 1-2 Business DaysChevrolet Malibu Mirror Assembly, Outside Rear View *Service Primer
Part Number: 20893752$133.95 MSRP: $210.66You Save: $76.71 (37%)Ships in 1-3 Business DaysChevrolet Malibu Mirror Assembly, O/S Rr View (W/O Cvr)
Part Number: 84725732$281.95 MSRP: $423.43You Save: $141.48 (34%)Ships in 1-3 Business Days
| Page 1 of 5 |Next >
1-20 of 86 Results
Chevrolet Malibu Side View Mirrors
Each OEM Chevrolet Malibu Side View Mirrors we offer is competitively priced and comes with the assurance of the manufacturer's warranty for the part. Furthermore, we guarantee the speedy delivery of your orders right to your doorstep. Our hassle-free return policy is also in place for your peace of mind.
Chevrolet Malibu Side View Mirrors Parts Questions & Experts Answers
- Q: How do you remove and install the outside and interior mirror assemblies on Chevrolet Malibu?A: To dismantle the outside mirror, one has to first retract the door trim panel and upper door frame trim, then pull the electrical connector off, hand support the mirror assembly, and unbolt the mirror mounting while withdrawing the outside mirror. On the outside mirror glass and motor to 2015 and prior models except Malibu Limited, apply pressure at the upper and inside part with one hand, then insert a plastic trim tool on the other end and turn to free the glass from the motor mount. To elicit the mirror glass, one has to insert a finger, then use other hand to pull the lower-outside corner of the mirror sharply while exerting a slight pressure towards the upper-inside corner which makes the mirror to decouple from the motor risking to crack the glass. If there is electrical connection, is necessary to disconnect any of them then to undo the mirror motor by removing bolts and nut of the motor and to disconnect electrical connector. Installation occurs in reverse with check that mirror glass plastic retainers engage with the motor tabs. For the interior mirror, you have to take off the mirror casing; this can be done and the mirror placed in the down position; the tabs have to be pulled to keep the outer and inner mirrors off. Then you shall pull out the mirror screw and if there is the electrical connector, then disconnect it and then pull out the mirror and finally the process of the installation is the reversed process of the removal. Most interior mirror base can be delayer by applying heat using a heat gun then pry it off from the windshield and during installation one should use rearview mirror adhesive; again due to the probability of cracking the windshield one can only do this if he/she has some expert knowledge in handling them. In order to free themselves up from the bottom, you must also take out the interior mirror; and erase all the electrical add-ons such as the front-facing camera and windshield temperature/interior moisture sensor. Drew a circle around the base on the windshield and marked it with a washable-ink pen and then placed a heat gun on the area to soften the stickiness of the adhesive and so as to remove the base gently. For installation: to find out where the mirror is to be mounted, with the help of the distance from the A-pillars, mark the point on the car body and combine it with the AS1 line on the windshield. After that it is necessary to cut out all the residue with a safety razor or utility knife, wipe all the surfaces with lint-free cloth and brake cleaner, check the correct position of the mirror and put the masking tape on the windshield at the bottom position of the mounting base. Adhere to the adhesive manufacturer's direction in every sense, press the mounting base into the installation location, apply necessary force as per the adhesive guidelines, allow curing of the adhesive, and this accomplishes the reverse process of removal.
Related Chevrolet Malibu Parts
 Chevrolet Malibu Door Lock Actuator
 Chevrolet Malibu Center Console Latch
 Chevrolet Malibu Door Check
 Chevrolet Malibu Door Hinge
 Chevrolet Malibu Center Console Base
 Chevrolet Malibu Dash Panel Vent Portion Covers
 Chevrolet Malibu Door Latch Assembly
 Chevrolet Malibu Door Latch Cable
 Chevrolet Malibu Door Moldings
Browse by Year
2024 Side View Mirrors 2023 Side View Mirrors 2022 Side View Mirrors 2021 Side View Mirrors 2020 Side View Mirrors 2019 Side View Mirrors 2018 Side View Mirrors 2017 Side View Mirrors 2016 Side View Mirrors 2015 Side View Mirrors 2014 Side View Mirrors 2013 Side View Mirrors 2012 Side View Mirrors 2011 Side View Mirrors 2010 Side View Mirrors 2009 Side View Mirrors 2008 Side View Mirrors 2007 Side View Mirrors 2006 Side View Mirrors 2005 Side View Mirrors 2004 Side View Mirrors 2003 Side View Mirrors 2002 Side View Mirrors 2001 Side View Mirrors 2000 Side View Mirrors 1999 Side View Mirrors 1998 Side View Mirrors 1997 Side View Mirrors