My Garage
My Account
Cart
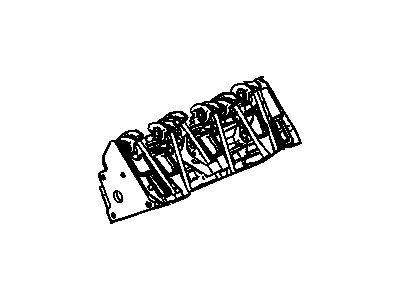
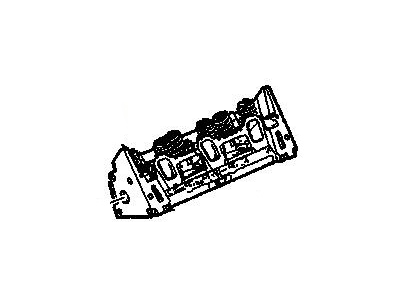
Genuine Chevrolet Malibu Cylinder Head
Head- Select Vehicle by Model
- Select Vehicle by VIN
Select Vehicle by Model
orMake
Model
Year
Select Vehicle by VIN
For the most accurate results, select vehicle by your VIN (Vehicle Identification Number).
26 Cylinder Heads found
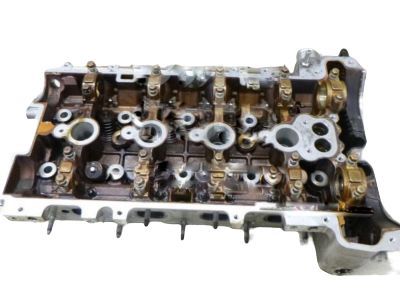
Chevrolet Malibu Cylinder Head (Service Partial)
Part Number: 12624550$611.37 MSRP: $968.17You Save: $356.80 (37%)Ships in 1-2 Business Days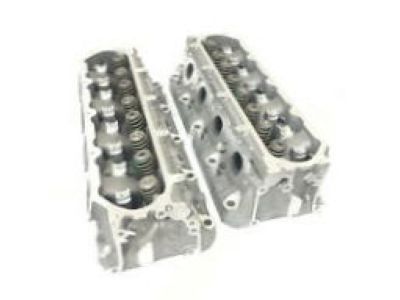
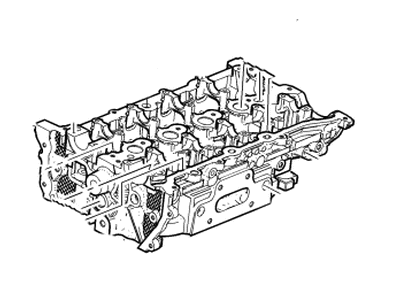
Chevrolet Malibu Cylinder Head Assembly (Service Partial)
Part Number: 12624549$431.70 MSRP: $679.82You Save: $248.12 (37%)Ships in 1-3 Business Days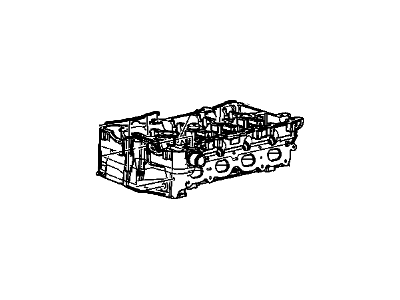
Chevrolet Malibu Cylinder Head Assembly (Remanufacture)
Part Number: 19256814$272.40 MSRP: $348.56You Save: $76.16 (22%)Ships in 1-3 Business Days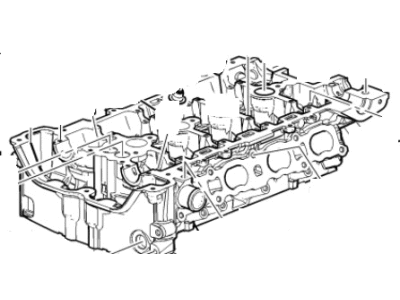
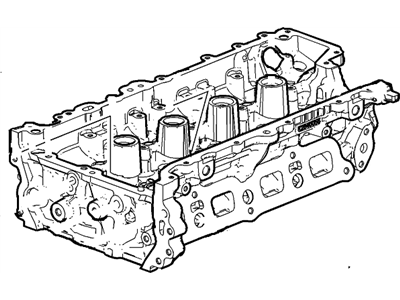
Chevrolet Malibu Cylinder Head Assembly (Machining)
Part Number: 12608280$749.21 MSRP: $1189.50You Save: $440.29 (38%)Ships in 1-3 Business Days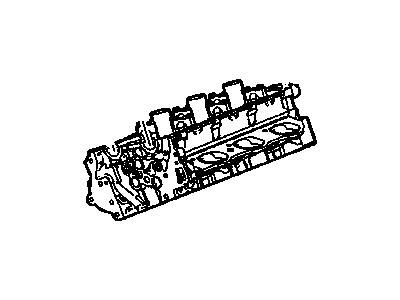
Chevrolet Malibu Cylinder Head (W/Vlvs)
Part Number: 12641095$745.47 MSRP: $1181.07You Save: $435.60 (37%)Ships in 1-3 Business Days
Chevrolet Malibu Head Assembly, Cyl (W/ Vlv)
Part Number: 12690428$900.15 MSRP: $1426.65You Save: $526.50 (37%)Ships in 1-3 Business DaysChevrolet Malibu Head Assembly, Cyl (W/ Vlv)
Part Number: 12690422$796.64 MSRP: $1027.88You Save: $231.24 (23%)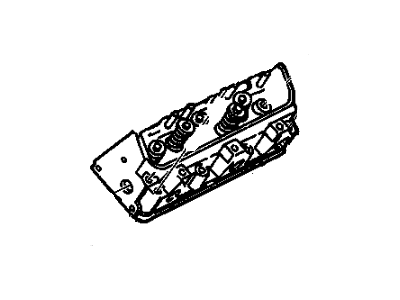
Chevrolet Malibu Cylinder Head Assembly
Part Number: 12586926$353.92 MSRP: $556.89You Save: $202.97 (37%)Ships in 1-3 Business DaysChevrolet Malibu HEAD ASM-CYL (W/ VLV)
Part Number: 12690429$876.68 MSRP: $1391.60You Save: $514.92 (37%)Ships in 1-3 Business Days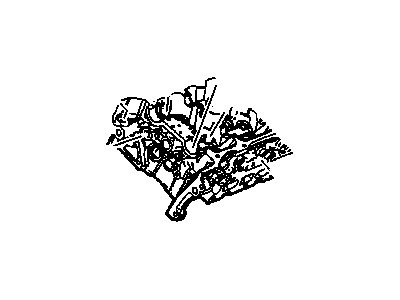
Chevrolet Malibu Cylinder Head (W/Vlvs)
Part Number: 12641093$646.87 MSRP: $1024.53You Save: $377.66 (37%)Ships in 1-3 Business Days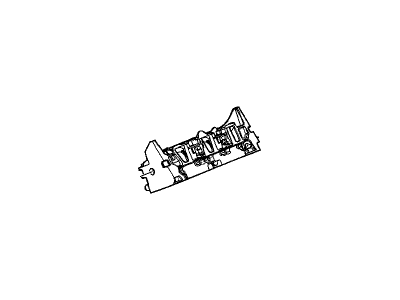
Chevrolet Malibu Cylinder Head Assembly (Machining)
Part Number: 12624612$216.34 MSRP: $339.44You Save: $123.10 (37%)Ships in 1-3 Business DaysChevrolet Malibu HEAD ASM-CYL (W/ VLV)
Part Number: 12708912$594.83 MSRP: $944.41You Save: $349.58 (38%)Ships in 1-3 Business DaysChevrolet Malibu Cylinder Head Assembly (W/ Valve)
Part Number: 12682375$702.73 MSRP: $1113.22You Save: $410.49 (37%)Ships in 1-3 Business DaysChevrolet Malibu Cylinder Head Assembly (W/ Valve)
Part Number: 55497385$706.48 MSRP: $913.36You Save: $206.88 (23%)Ships in 1-3 Business Days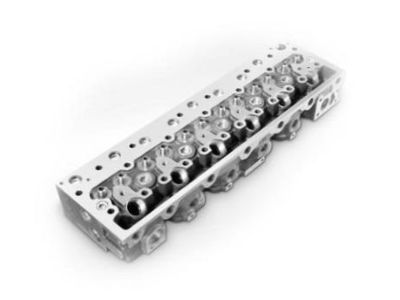
Chevrolet Malibu Cylinder Head Assembly (W/ Valve)
Part Number: 12675702$1135.87 MSRP: $1803.41You Save: $667.54 (38%)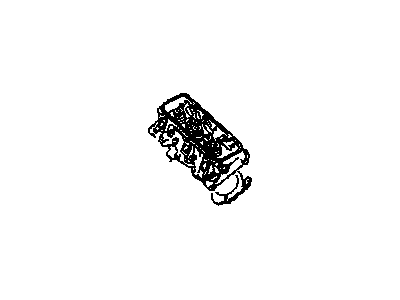
| Page 1 of 2 |Next >
1-20 of 26 Results
Chevrolet Malibu Cylinder Head
Each OEM Chevrolet Malibu Cylinder Head we offer is competitively priced and comes with the assurance of the manufacturer's warranty for the part. Furthermore, we guarantee the speedy delivery of your orders right to your doorstep. Our hassle-free return policy is also in place for your peace of mind.
Chevrolet Malibu Cylinder Head Parts Questions & Experts Answers
- Q: What precautions should be taken when removing the engine head to prevent warpage and ensure proper installation in four cylinder engine on Chevrolet Malibu?A: Head has to be removed on a cooler engine to avoid warpage of the head. Head bolts are also necessary to install; thus, it is necessary to buy new ones in advance. The process commences with the removal of pressure from the fuel system to ensure that no accident occurs and the cable is disconnected from the Negate battery terminal. Suction the cooling system and the oil sump; then unplug the Powertrain Control Module. Remove hose clamps and hoses from the coolant outlet housing, undo the housing bolts and then remove the housing. B, eremove valve cover, turbocharger assembly and Intake Manifold. For the 2.0L and 2.5L engines, take off the Exhaust Manifold, Timing Chain cover and timing chain: support the engine at the lower end of the engine mount. Take out the high pressure fuel pump, and, if you're working on the 2.0 L and 2.5 L engines, you should also remove the Camshaft position actuators, and cams. Identify and disarm the electrical connectors from the cylinder head that could be possibly cumbersome in removal, note down each connector for easy reconnection. Loosen the cylinder head bolts in the specified order turning it in small amounts. Drive a pry bar along the wide flat area all around the head-to-block mating surface but you should not pry in the gasket sealing area. Place an engine hoist lifting bracket and chains at the cylinder head, then use the hoist to lift the cylinder head up off the engine, if it is hard to lift use a wood block and hammer to apply leverage. Place the cylinder head on wooden pillows so as not to scratch the gasket sealing surfaces as you remove the old cylinder head gasket having in mind its positioning as when being fitted. Before installation of the cylinder head and block, the mating surfaces need to be immaculately clean; therefore, using gasket scraper and brake system cleaner. Ensure that the mating surfaces are free from any form of damages like nicks, deep scratches and others. Wash the threads in the cylinder head bolt holes with a tap since this practice may including dirt and corrosion that might alter the torque value read. Align the new gasket with the dowels in the block, locate the cylinder head over the engine block with out shifting the gasket and fit new cylinder head bolts then tighten these bolts to the standard torque level in the correct sequence. Fit the timing chain, turb charger or exhaust manifold and intake manifold. The other steps that are needed to be taken for installation is the exact opposite of the removal process. Connect the battery, drain the engine oil and replace it with a new one, refill the cooling system, then crank the car and look out for the leakage of oil and antifreeze mixture.

Related Chevrolet Malibu Parts
 Chevrolet Malibu Rocker Arm
 Chevrolet Malibu Intake Valve
 Chevrolet Malibu Camshaft
 Chevrolet Malibu Exhaust Valve
 Chevrolet Malibu Timing Cover
 Chevrolet Malibu Rocker Shaft Spring Kit
 Chevrolet Malibu Rocker Arm Pivot
Browse by Year
2024 Cylinder Head 2023 Cylinder Head 2022 Cylinder Head 2021 Cylinder Head 2020 Cylinder Head 2019 Cylinder Head 2018 Cylinder Head 2017 Cylinder Head 2016 Cylinder Head 2015 Cylinder Head 2014 Cylinder Head 2013 Cylinder Head 2012 Cylinder Head 2011 Cylinder Head 2010 Cylinder Head 2009 Cylinder Head 2008 Cylinder Head 2007 Cylinder Head 2006 Cylinder Head 2005 Cylinder Head 2004 Cylinder Head 2003 Cylinder Head 2002 Cylinder Head 2001 Cylinder Head 2000 Cylinder Head 1999 Cylinder Head 1998 Cylinder Head 1997 Cylinder Head 1983 Cylinder Head 1982 Cylinder Head