My Garage
My Account
Cart
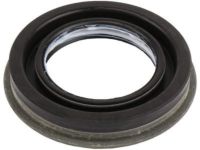
Genuine Chevrolet Camaro Differential Seal
- Select Vehicle by Model
- Select Vehicle by VIN
Select Vehicle by Model
orMake
Model
Year
Select Vehicle by VIN
For the most accurate results, select vehicle by your VIN (Vehicle Identification Number).
8 Differential Seals found
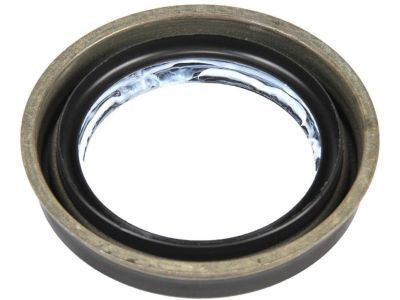
Chevrolet Camaro Seal,Differential Drive Pinion Gear
Part Number: 92230584$17.49 MSRP: $33.03You Save: $15.54 (48%)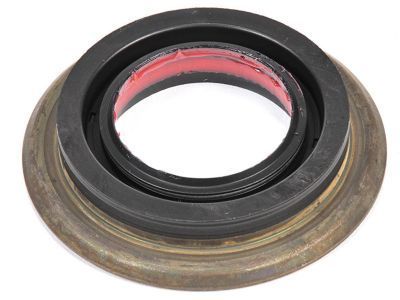
Chevrolet Camaro Seal,Differential Drive Pinion Gear
Part Number: 12471523$12.61 MSRP: $23.81You Save: $11.20 (48%)Ships in 1 Business Day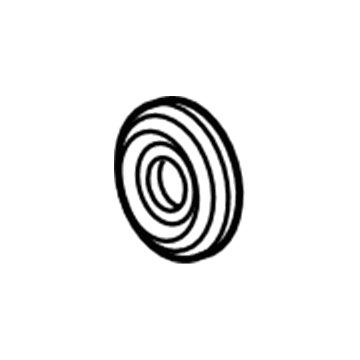
Chevrolet Camaro Seal, Differential Drive Pinion Gear
Part Number: 23417956$42.34 MSRP: $73.69You Save: $31.35 (43%)Ships in 1-2 Business Days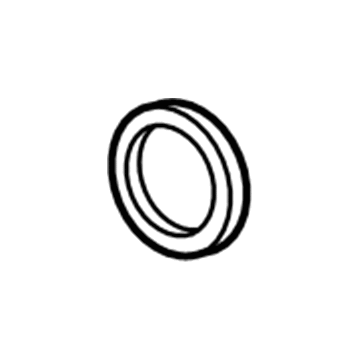
Chevrolet Camaro SEAL-DIFF DRV P/GR
Part Number: 87821841$38.98 MSRP: $69.92You Save: $30.94 (45%)Ships in 1-2 Business Days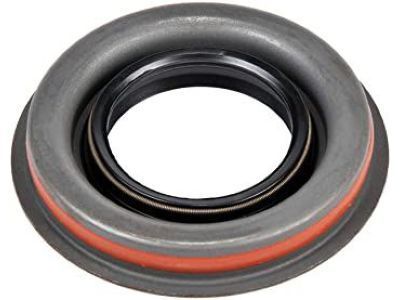
Chevrolet Camaro Seal,Differential Drive Pinion Gear
Part Number: 26026792$19.02 MSRP: $34.10You Save: $15.08 (45%)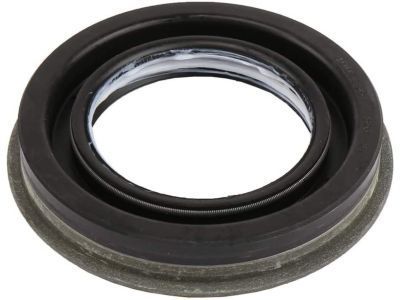
Chevrolet Camaro Differential Seal
Each OEM Chevrolet Camaro Differential Seal we offer is competitively priced and comes with the assurance of the manufacturer's warranty for the part. Furthermore, we guarantee the speedy delivery of your orders right to your doorstep. Our hassle-free return policy is also in place for your peace of mind.
Chevrolet Camaro Differential Seal Parts Questions & Experts Answers
- Q: How do you remove the pinion Seal on Chevrolet Camaro?A: To remove the pinion flange on a vehicle, start by loosening the wheel lug nuts and raising the rear of the vehicle on jackstands. Disconnect the driveshaft from the differential companion flange and measure the torque required to turn the pinion shaft. Mark the relationship of the pinion flange to the shaft and remove the pinion nut using a flange-holding tool or chain wrench. Withdraw the flange, using a two-jaw puller if necessary, and pry out the old seal. For installation, lubricate the lips of the new seal and tap it into position. Apply RTV sealant to the splines on the pinion shaft and install the pinion flange, aligning the marks made. Install and tighten the old pinion nut, then remove it and install a new pinion nut. Tighten the nut to eliminate pinion shaft end play and measure the rotating torque using an inch-pound torque wrench. Finally, complete the installation in reverse and check the differential lubricant level.
Related Chevrolet Camaro Parts
 Chevrolet Camaro Door Lock
 Chevrolet Camaro Coolant Temperature Sensor
 Chevrolet Camaro Axle Shaft
 Chevrolet Camaro Door Lock Actuator
 Chevrolet Camaro Dipstick
 Chevrolet Camaro Differential
 Chevrolet Camaro Differential Cover
 Chevrolet Camaro Differential Bearing
Browse by Year
2024 Differential Seal 2023 Differential Seal 2022 Differential Seal 2021 Differential Seal 2020 Differential Seal 2019 Differential Seal 2018 Differential Seal 2017 Differential Seal 2016 Differential Seal 2015 Differential Seal 2014 Differential Seal 2013 Differential Seal 2012 Differential Seal 2011 Differential Seal 2010 Differential Seal 2002 Differential Seal 2001 Differential Seal 2000 Differential Seal 1999 Differential Seal 1998 Differential Seal 1997 Differential Seal 1996 Differential Seal 1995 Differential Seal 1994 Differential Seal 1993 Differential Seal 1992 Differential Seal 1991 Differential Seal 1990 Differential Seal 1989 Differential Seal 1988 Differential Seal 1987 Differential Seal 1986 Differential Seal 1985 Differential Seal 1984 Differential Seal 1983 Differential Seal 1982 Differential Seal