My Garage
My Account
Cart
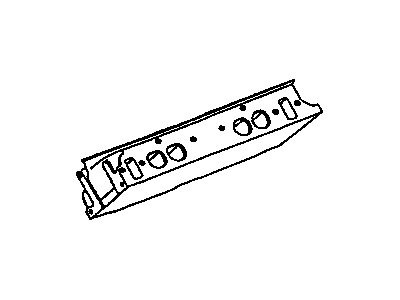
Genuine Chevrolet Camaro Cylinder Head
Head- Select Vehicle by Model
- Select Vehicle by VIN
Select Vehicle by Model
orMake
Model
Year
Select Vehicle by VIN
For the most accurate results, select vehicle by your VIN (Vehicle Identification Number).
21 Cylinder Heads found

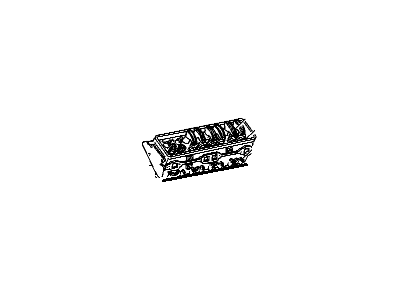
Chevrolet Camaro Cylinder Head Assembly (W/ Valve)
Part Number: 12675871$871.41 MSRP: $1051.48You Save: $180.07 (18%)Ships in 1-3 Business Days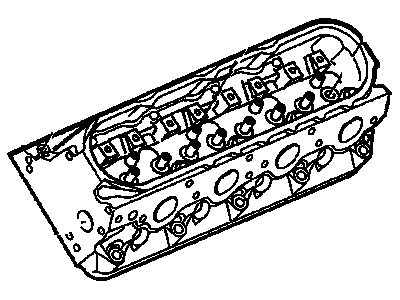
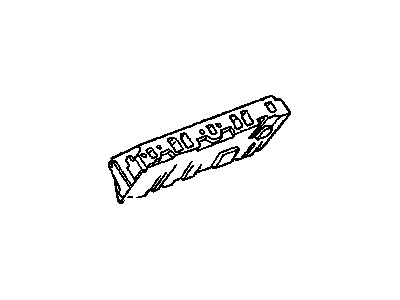
Chevrolet Camaro Head Assembly, Cyl (W/ Vlv)
Part Number: 12711770$850.43 MSRP: $1349.90You Save: $499.47 (37%)Chevrolet Camaro Head Assembly, Cyl (W/ Vlv)
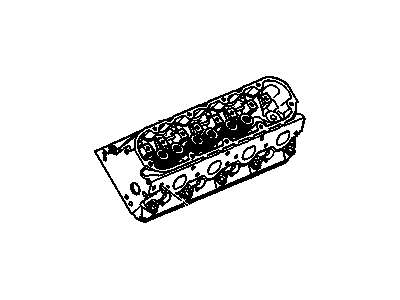
Part Number: 12699617$340.29 MSRP: $537.85You Save: $197.56 (37%)Chevrolet Camaro Cylinder Head Assembly (W/ Valve)
Part Number: 12684222$751.89 MSRP: $1193.49You Save: $441.60 (37%)Ships in 1-3 Business DaysChevrolet Camaro Head Assembly, Cyl (W/ Vlv)
Part Number: 12686233$302.73 MSRP: $478.46You Save: $175.73 (37%)Chevrolet Camaro Head Assembly, Cyl (W/ Vlv)
Part Number: 12690428$900.15 MSRP: $1426.65You Save: $526.50 (37%)Ships in 1-3 Business DaysChevrolet Camaro Head Assembly,Cyl (Remanufacture) 2008, 2010 Llt Rh
Part Number: 19329668$717.88 MSRP: $1137.02You Save: $419.14 (37%)Ships in 1-3 Business DaysChevrolet Camaro Head Assembly,Cyl (Remanufacture) 2008, 2010 Llt Lh
Part Number: 19329667$693.54 MSRP: $1098.62You Save: $405.08 (37%)Ships in 1-3 Business DaysChevrolet Camaro HEAD ASM-CYL (W/ VLV)
Part Number: 12690429$876.68 MSRP: $1391.60You Save: $514.92 (37%)Ships in 1-3 Business Days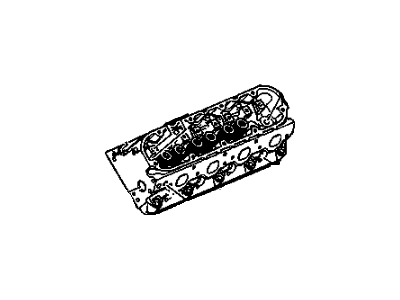
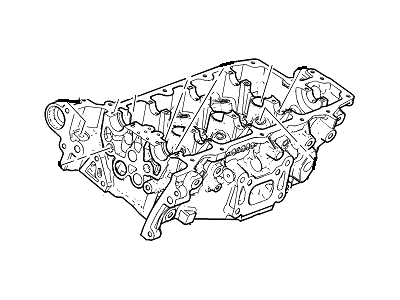
Chevrolet Camaro Cylinder Head Assembly
Part Number: 12578450$1151.65 MSRP: $1488.88You Save: $337.23 (23%)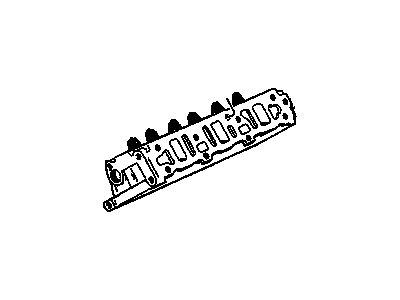

| Page 1 of 2 |Next >
1-20 of 21 Results
Chevrolet Camaro Cylinder Head
Each OEM Chevrolet Camaro Cylinder Head we offer is competitively priced and comes with the assurance of the manufacturer's warranty for the part. Furthermore, we guarantee the speedy delivery of your orders right to your doorstep. Our hassle-free return policy is also in place for your peace of mind.
Chevrolet Camaro Cylinder Head Parts Questions & Experts Answers
- Q: What steps are necessary to replace the cylinder heads and ensure proper installation in V6 engine on Chevrolet Camaro?A: To perform this procedure, a new set of the MB (8 mm) and M11 (11 mm) head bolt will be required. First of all, start by removing the cable attached to the negative terminal of the battery. Take off the plenum and Intake manifold, valve covers, Timing Cover, Timing Chains, taking note of the position of the Sprocket to be meshed with crankshaft. On the left side cylinder head remove the fuel pump, The oil dipstick lube mounting bolt and tube.. Remove all electrical connectors and tap the ground straps from the cylinder heads, also remove the exhaust pipe/catalytic converter from cylinder heads. If doing the left side cylinder head removal it is advisable to also remove the power steering pump. Leverage out the upper bolt of the oil filter adapter if available then loosen all the head bolts with 1/4 turn each in the reverse sequence you used in tightening until you can do it by hand, it will be a good time to check the note of the lengths and sizes of the bolts as a guide to fit the new ones correctly. Remove the heads off the engine gently if there is resistance felt, use pry bar or long screwdriver and place the heads on wooden blocks so as not to mar the mating surfaces of the gaskets. Make sure block and cylinder heads mating surfaces are clean before assembly; use solvent to remove gasket and carbon as well as old gasket material using a gasket scraper; wipe clean with a rag soaked in lacquer thinner or acetone but be careful not to damage the aluminium covers. Ensure that there is no remnant of oil on mating surfaces since this can cause inadequate sealing and subsequently lead to formation of leaks, and clean the debris that falls on the cylinders using vacuum cleaner. Check the block and head mating surfaces for nicks and scratches, while using emery cloth for slight damage, for excessive damage you should machine. Put the new gaskets over the dowels in the block and lift the heads and put them back on the block in a manner that will not shift the gaskets. Apply a layer of a medium strength thread locking compound to the threads of the new 8mm head bolts; start those bolts without using tools and then do the same for the new 11mm head bolts. According to the described sequence, tighten the bolts in four cycles, to the given torque and the angle of turn. Whatever is left of the installation is removed in the opposite sequence to the process of instalment. Last but not the least, pour in coolant, replace the oil and the filter, switch on the engine and make sure that all is well and look for signs of coolant or oil leaks.

Related Chevrolet Camaro Parts
 Chevrolet Camaro Rocker Arm
 Chevrolet Camaro Rocker Shaft Spring Kit
 Chevrolet Camaro Intake Valve
 Chevrolet Camaro Exhaust Valve
 Chevrolet Camaro Timing Cover
 Chevrolet Camaro Camshaft
Browse by Year
2024 Cylinder Head 2023 Cylinder Head 2022 Cylinder Head 2021 Cylinder Head 2020 Cylinder Head 2019 Cylinder Head 2018 Cylinder Head 2017 Cylinder Head 2016 Cylinder Head 2015 Cylinder Head 2014 Cylinder Head 2013 Cylinder Head 2012 Cylinder Head 2011 Cylinder Head 2010 Cylinder Head 2002 Cylinder Head 2001 Cylinder Head 2000 Cylinder Head 1999 Cylinder Head 1998 Cylinder Head 1997 Cylinder Head 1996 Cylinder Head 1995 Cylinder Head 1994 Cylinder Head 1993 Cylinder Head 1992 Cylinder Head 1991 Cylinder Head 1990 Cylinder Head 1989 Cylinder Head 1988 Cylinder Head 1987 Cylinder Head 1986 Cylinder Head 1985 Cylinder Head 1984 Cylinder Head 1983 Cylinder Head 1982 Cylinder Head