My Garage
My Account
Cart
Genuine Chevrolet C1500 Ball Joint
Control Arm Joint- Select Vehicle by Model
- Select Vehicle by VIN
Select Vehicle by Model
orMake
Model
Year
Select Vehicle by VIN
For the most accurate results, select vehicle by your VIN (Vehicle Identification Number).
5 Ball Joints found
Chevrolet C1500 Kit, Front Upper Control Arm Ball Stud(Service Only)
Part Number: 15659722$55.01 MSRP: $110.92You Save: $55.91 (51%)Ships in 1-2 Business Days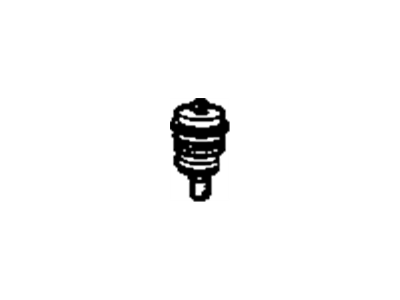
Chevrolet C1500 STUD KIT,FRT LWR CONT ARM BALL
Part Number: 19416896$83.32 MSRP: $137.88You Save: $54.56 (40%)Ships in 1-2 Business Days

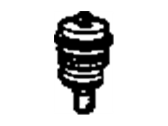
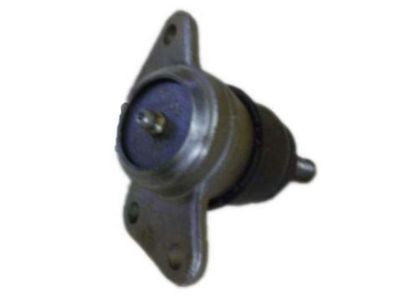
Chevrolet C1500 Ball Joint
Chevrolet C1500 Ball Joint is a useful component linking the steering knuckles to the control arms in order to enable suspension and steering operations. It gives vertical and horizontal movement so as to adapt to the action of the vehicle upon road conditions as well as the response of the driver. Commonly made of steel, ball joint includes a bearing stud and socket; the component is covered by a rubber boot in order to keep contaminants out and keep the lubricant in. Depending on the models of the Chevrolet C1500, ball joints can be of two kinds, which are the load carrying and the non-load carrying types. Lower positioned load bearing joints, which bear the load, are heavily used while non-load bearing joints used to keep alignment and used sparingly. Ball joints can deteriorate owing to wear and tear or due to lack of lubrication and this can lead to things such as noise or lack of alignment. There is an option of performance parts that are in stock, these are adjustable ball joints for modified suspensions to allow for maximum handle and alignment.
Each OEM Chevrolet C1500 Ball Joint we offer is competitively priced and comes with the assurance of the manufacturer's warranty for the part. Furthermore, we guarantee the speedy delivery of your orders right to your doorstep. Our hassle-free return policy is also in place for your peace of mind.
Chevrolet C1500 Ball Joint Parts Questions & Experts Answers
- Q: How do you check the upper and lower balljoints on Chevrolet C1500?A: To check the upper balljoint, loosen lug nuts, raise the front of the vehicle, support it on jackstands, apply the parking brake, and remove the wheel. Place a jack under the lower Control Arm, raise slightly, and watch for movement at the balljoint, indicating wear. For the lower balljoint, measure the distance between the tip of the balljoint stud and the grease fitting, lower the jack, and remeasure. A difference exceeding 3/32-inch means replacement is needed. To replace on 2WD models, remove the brake caliper, separate the balljoint from the Steering Knuckle, drill out the rivets, and install the new balljoint with supplied nuts and bolts. For lower balljoint, take the control arm to a shop for pressing out and in the balljoint. Inspect steering knuckle holes for damage, reconnect balljoints, tighten nuts to torque, install grease fittings, lubricate, and reinstall wheels. The alignment should be checked by a dealer. For 4WD models, procedures are similar, with additional steps including removing the splash shield, disconnecting the tie-rod, removing the drive axle, drilling out rivets, supporting the lower control arm, separating and installing the balljoint, and loading the torsion bar. Finally, reconnect tie-rod, install splash shield, and tighten lug nuts to specified torque.