My Garage
My Account
Cart
Genuine Chevrolet Astro Hood Cable
Hood Release Cable- Select Vehicle by Model
- Select Vehicle by VIN
Select Vehicle by Model
orMake
Model
Year
Select Vehicle by VIN
For the most accurate results, select vehicle by your VIN (Vehicle Identification Number).
2 Hood Cables found
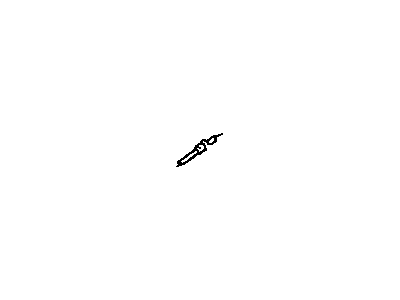
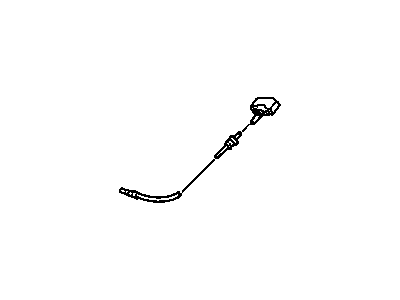
Chevrolet Astro Hood Cable
Each OEM Chevrolet Astro Hood Cable we offer is competitively priced and comes with the assurance of the manufacturer's warranty for the part. Furthermore, we guarantee the speedy delivery of your orders right to your doorstep. Our hassle-free return policy is also in place for your peace of mind.
Chevrolet Astro Hood Cable Parts Questions & Experts Answers
- Q: How do you remove and install the hood latch and cable on Chevrolet Astro?A: Whenever releasing the latch and loosening the bolts, take a sharp pair of scissors or a felt tip pen to draw around the latch and also where the latch lays on the car to help in reinstalling the hood latch. Using a screwdriver pry the cable housing off the latch mechanism and pull the cable end away, and there are two socket head bolts that secure the latch mechanism to the radiator support. To install it, do all the things but in reverse order, be sure to properly place the cable's end into the clip and fit the scribe marks in the latches before properly fastening the head mounting bolts. To uninstall the cable you get a flat head screw driver and simply pry on the cable housing to let go of the latch then you unplug the end of it and the follow the cable to the grommet in the firewall and pry it out. Carefully tie a piece of string or wire that will fit the installation to the end of the cable. To liberate the handle on 1995 and earlier models, identify the handle locking tabs on the back of the driver side knee bolster, push the tabs and remove the handle assembly with a gradual pulling of the cable through the knee bolster and the firewall/inner fender without releasing the guide string or wire. On the 1996 and subsequent year models, the driver's side knee bolster and the left cowl side vent cover must be taken off and then there are two bolts that hold the cable handle to the body panel, the cable should be pulled through the firewall without disconnecting the guide string or wire. To install the cable, fix the guide string or wire to the end, thread the string or wire to the right position and fit the end to the latch mechanism; the grommet must be properly fitted into the firewall and sealant applied if required. For 1995 and pre-type models stand on the handle into knee bolster until it secures, for 1996 post-type models the handle assembly is attached to the body panel then the kick panel and lastly driver side knee bolster is refitted.

Related Chevrolet Astro Parts


Browse by Year
2005 Hood Cable 2004 Hood Cable 2003 Hood Cable 2002 Hood Cable 2001 Hood Cable 2000 Hood Cable 1999 Hood Cable 1998 Hood Cable 1997 Hood Cable 1996 Hood Cable 1995 Hood Cable 1994 Hood Cable 1993 Hood Cable 1992 Hood Cable 1991 Hood Cable 1990 Hood Cable 1989 Hood Cable 1988 Hood Cable 1987 Hood Cable 1986 Hood Cable 1985 Hood Cable