My Garage
My Account
Cart
Genuine Cadillac CTS Cylinder Head
Head- Select Vehicle by Model
- Select Vehicle by VIN
Select Vehicle by Model
orMake
Model
Year
Select Vehicle by VIN
For the most accurate results, select vehicle by your VIN (Vehicle Identification Number).
30 Cylinder Heads found
Cadillac CTS Head Assembly, Cyl (W/ Valve)
Part Number: 12629058$671.65 MSRP: $1063.87You Save: $392.22 (37%)Ships in 1-2 Business Days
Cadillac CTS Head Assembly, Cyl (W/ Valve)
Part Number: 12675872$781.74 MSRP: $1241.13You Save: $459.39 (38%)Ships in 1-3 Business Days
Cadillac CTS Cylinder Head Assembly (Machining) (Lh Lfx W/Sai)
Part Number: 12633962$237.06 MSRP: $389.66You Save: $152.60 (40%)Ships in 1-3 Business Days
Cadillac CTS Cylinder Head Assembly (W/ Valve)
Part Number: 12684222$751.89 MSRP: $1193.49You Save: $441.60 (37%)Ships in 1-3 Business DaysCadillac CTS Head Assembly, Cyl (W/ Vlv)
Part Number: 12686233$302.73 MSRP: $478.46You Save: $175.73 (37%)
Cadillac CTS Cylinder Head Assembly (W/ Valve)
Part Number: 12679101$748.53 MSRP: $1185.92You Save: $437.39 (37%)Ships in 1-3 Business Days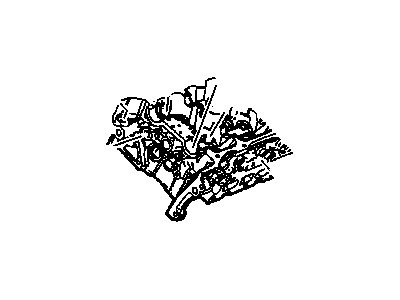
Cadillac CTS Cylinder Head Kit
Part Number: 12634220$209.71 MSRP: $328.97You Save: $119.26 (37%)Ships in 1-3 Business Days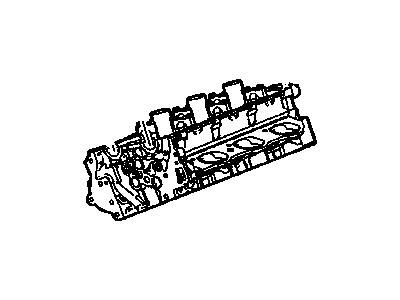
Cadillac CTS Cylinder Head (W/Vlvs)
Part Number: 12641095$745.47 MSRP: $1181.07You Save: $435.60 (37%)Ships in 1-3 Business DaysCadillac CTS Head Assembly, Cyl (W/ Vlv)
Part Number: 12690428$900.15 MSRP: $1426.65You Save: $526.50 (37%)Ships in 1-3 Business DaysCadillac CTS Cylinder Head Assembly (W/ Valve) (Rh)
Part Number: 12686767$716.53 MSRP: $1137.36You Save: $420.83 (37%)Ships in 1-3 Business Days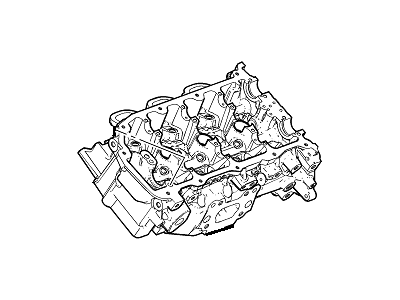
Cadillac CTS Cylinder Head Assembly (Machining) (Lh)
Part Number: 12656411$492.10 MSRP: $781.30You Save: $289.20 (38%)Ships in 1-3 Business DaysCadillac CTS HEAD ASM-CYL (W/ VLV)
Part Number: 12723473$721.23 MSRP: $1145.10You Save: $423.87 (38%)Ships in 1-2 Business DaysCadillac CTS Cylinder Head (Remanufacture) Rh
Part Number: 19259025$667.32 MSRP: $860.69You Save: $193.37 (23%)Ships in 1-3 Business DaysCadillac CTS Engine Cylinder Head (W/Vlvs)
Part Number: 12635548$301.71 MSRP: $474.37You Save: $172.66 (37%)Ships in 1-3 Business DaysCadillac CTS Cylinder Head Assembly (W/ Valve)
Part Number: 12692322$949.34 MSRP: $1506.92You Save: $557.58 (37%)Ships in 1-3 Business DaysCadillac CTS HEAD ASM-CYL (W/ VLV)
Part Number: 12709312$619.49 MSRP: $983.54You Save: $364.05 (38%)Ships in 1-2 Business DaysCadillac CTS Engine Cylinder Head (Machining)
Part Number: 12611606$882.50 MSRP: $1401.13You Save: $518.63 (38%)Ships in 1-3 Business Days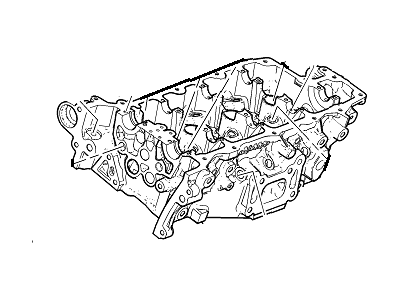
Cadillac CTS Cylinder Head Assembly (Machining) (Rh Lfx W/Sai)
Part Number: 12633963$214.74 MSRP: $336.83You Save: $122.09 (37%)Ships in 1-2 Business DaysCadillac CTS Cylinder Head (W/Vlvs)
Part Number: 12641093$646.87 MSRP: $1024.53You Save: $377.66 (37%)Ships in 1-3 Business DaysCadillac CTS Engine Cylinder Head (W/Vlvs)
Part Number: 12641100$882.50 MSRP: $1401.13You Save: $518.63 (38%)
| Page 1 of 2 |Next >
1-20 of 30 Results
Cadillac CTS Cylinder Head
Each OEM Cadillac CTS Cylinder Head we offer is competitively priced and comes with the assurance of the manufacturer's warranty for the part. Furthermore, we guarantee the speedy delivery of your orders right to your doorstep. Our hassle-free return policy is also in place for your peace of mind.
Cadillac CTS Cylinder Head Parts Questions & Experts Answers
- Q: What precautions should be taken before beginning the engine head removal procedure in 5.7L,6.0L,6.2L V8 engine on Cadillac CTS?A: This should be done when the engine of the car is cold; however, before working on the engine allow it to cool down completely. As with the previous work done, a new set of head bolts will be required for this to happen. Remove the connector from the negative terminal of the battery, and drain the water from the engine. For 5.7L and 6.0L engines remove the intake manifold and the coolant bleed pipe mounting bolts and pipe; for 6.2L engines remove the supercharger. There is no requirement of removing the exhaust manifold from RH cylinder head whereas LH exhaust manifold is required to be removed along with; valve covers, oil dipstick tube. Take out the Rocker Arms and the Pushrods and it is important to keep all the parts in a manner that they will be placed back in the same way as they were removed. Remove the wiring connection from the back of the alternator, then un-bolt and take off the power steering pump along with its rear support from the left cylinder head but do not cut the hoses. In reverse order, rotate the head bolts in 114 turn for their loose and then be removed by hand but ensure that in the middle of the process take measurements on their length and sizes for the right installation of the new head bolts. Pull the heads off the engine gently and if there is friction use prybar or long screwdriver on the intake port, place the heads on wooden cradles to avoid damaging the gasket surfaces. The surfaces of the cylinder head and block must be perfectly clean before installation; it's also important not to scratch the aluminum with such a scraper. Examine the mating surfaces for nicks, deep scratches and other defects that, though may not be deep can be filed away while serious ones may need to be machined. If warpage is assumed, use the straightedge and calculate the angles of the warpage; if the angles exceed specified permissible limits auto- machinist's shop should be consulted. Wipe the mating surfaces and threads of the head bolts with a clean shop towel and brake system cleaner to clean it, and, thereafter, use a wire brush to remove the thread locking compound from 8 mm head bolts. Place the new gaskets over the dowels in the block with the mark concerning the front of the vehicle and then put the heads on the block keeping the gaskets intact. Apply an M8 thread locker of medium strength on the threads of the new 8 mm head bolts before placing them and tightening them with the finger; place new 11 mm head bolts, and similarly tighten them with the finger. Tightening the bolts as per the sequence suggested, tighten the bolts for 4 times or to a torque and angle of rotation as suggested. Replace new O-rings for the coolant bleed pipe and screw in place onto the cylinder heads fastening the bolts to the recommended torque. The remaining part of the installation is just the exact opposite of the removal process, which has been outlined above. Last of all fill with coolant then change the oil & filter, crank up the engine and inspection for proper operating condition and check for any signs of coolant or oil leakages.
Related Cadillac CTS Parts
 Cadillac CTS Rocker Arm
 Cadillac CTS Rocker Shaft Spring Kit
 Cadillac CTS Camshaft
 Cadillac CTS Intake Valve
 Cadillac CTS Timing Cover
 Cadillac CTS Exhaust Valve
Browse by Year
2019 Cylinder Head 2018 Cylinder Head 2017 Cylinder Head 2016 Cylinder Head 2015 Cylinder Head 2014 Cylinder Head 2013 Cylinder Head 2012 Cylinder Head 2011 Cylinder Head 2010 Cylinder Head 2009 Cylinder Head 2008 Cylinder Head 2007 Cylinder Head 2006 Cylinder Head 2005 Cylinder Head 2004 Cylinder Head 2003 Cylinder Head